Reverse Tunneled Proxy with Cloudflared
If you bought your domain in Cloudflare and broke just like me, then you can enjoy some of the free privileges like cloudflared which can tunnel your application to the cloud. This also handles TLS certificate and renewal.
Table of Contents
Requirements
A domain in Cloudflare and a server who has access in the internet.
Server Setup
Navigate to your dashboard, click on Zero Trust - Networks - Connectors. Now create tunnel, select type as Cloudflared. Depending on the system you’re using, but in my case I will be selecting Docker. For now copy the token, like we did in Pangolin setup, we need to create a externel Docker network.
docker network create cloudflared-proxy
compose.yml
 1services:
 2  cloudflared:
 3    image: cloudflare/cloudflared:latest
 4    container_name: cloudflared
 5    restart: unless-stopped # Restart the container unless manually stopped
 6    # Logging configuration for Cloudflare Tunnel container
 7    logging:
 8      driver: json-file # Use the default json-file logging driver
 9      options:
10        max-size: 100m # Maximum log file size before rotation (100 MB)
11        max-file: "10"
12    healthcheck:
13      test:
14        - CMD
15        - cloudflared
16        - --version
17        # Check if cloudflared version command works
18      interval: 30s # Time between health check attempts
19      timeout: 10s # Time to wait for a response
20      retries: 3 # Number of retries before marking as unhealthy
21      start_period: 10s # Delay before health checks begin
22    command: tunnel --no-autoupdate run --token someverylongsecrettoken
23    networks:
24      - cloudflared-proxy
25networks:
26  cloudflared-proxy:
27    name: cloudflared-proxy
28    external: true
Spin the container and make sure it is running in the background. Check the status on your dashboard if the tunnel is now healthy.

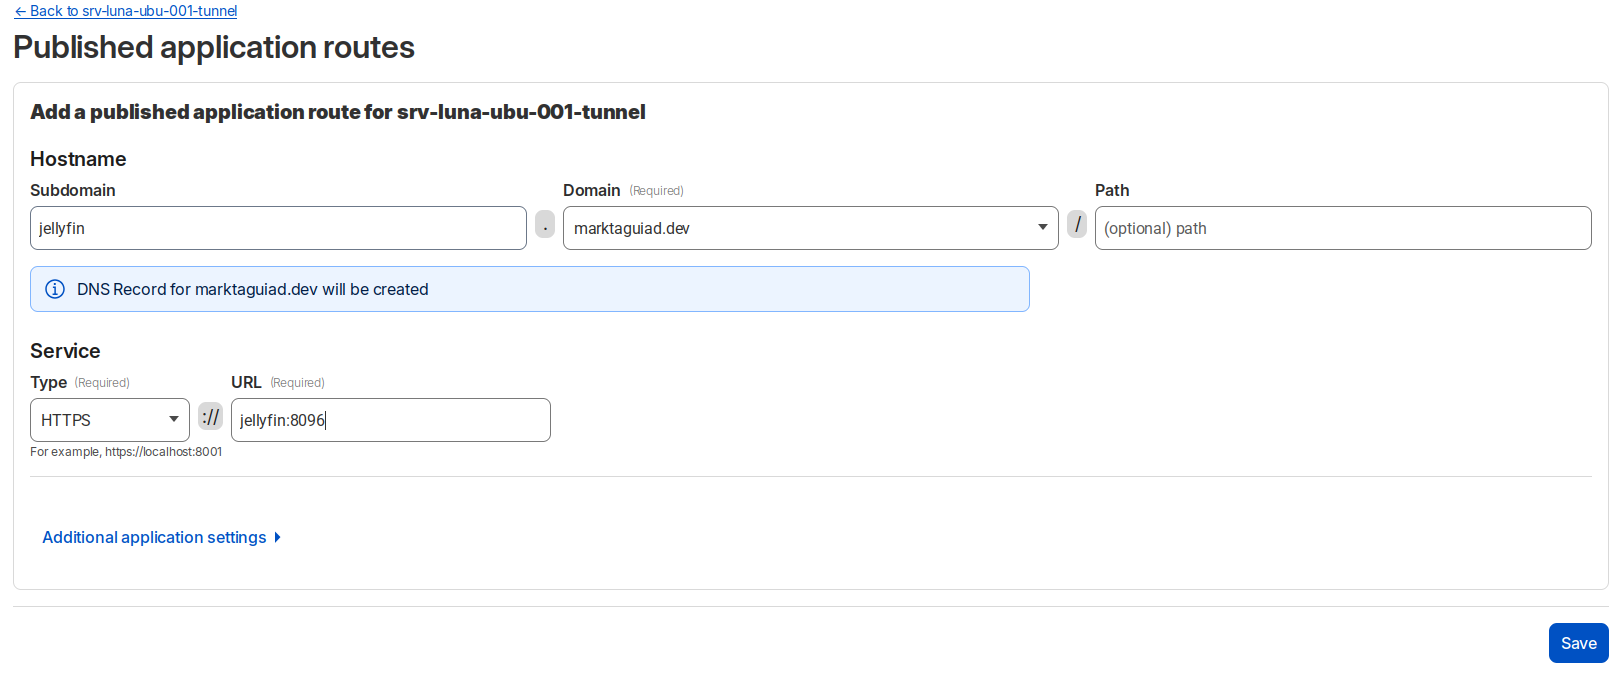
HTTPS Proxy Route
Now configure on the tunnel, navigate on Published application routes. Using the jellyfin application from Pangolin setup, below is a sample configuration.
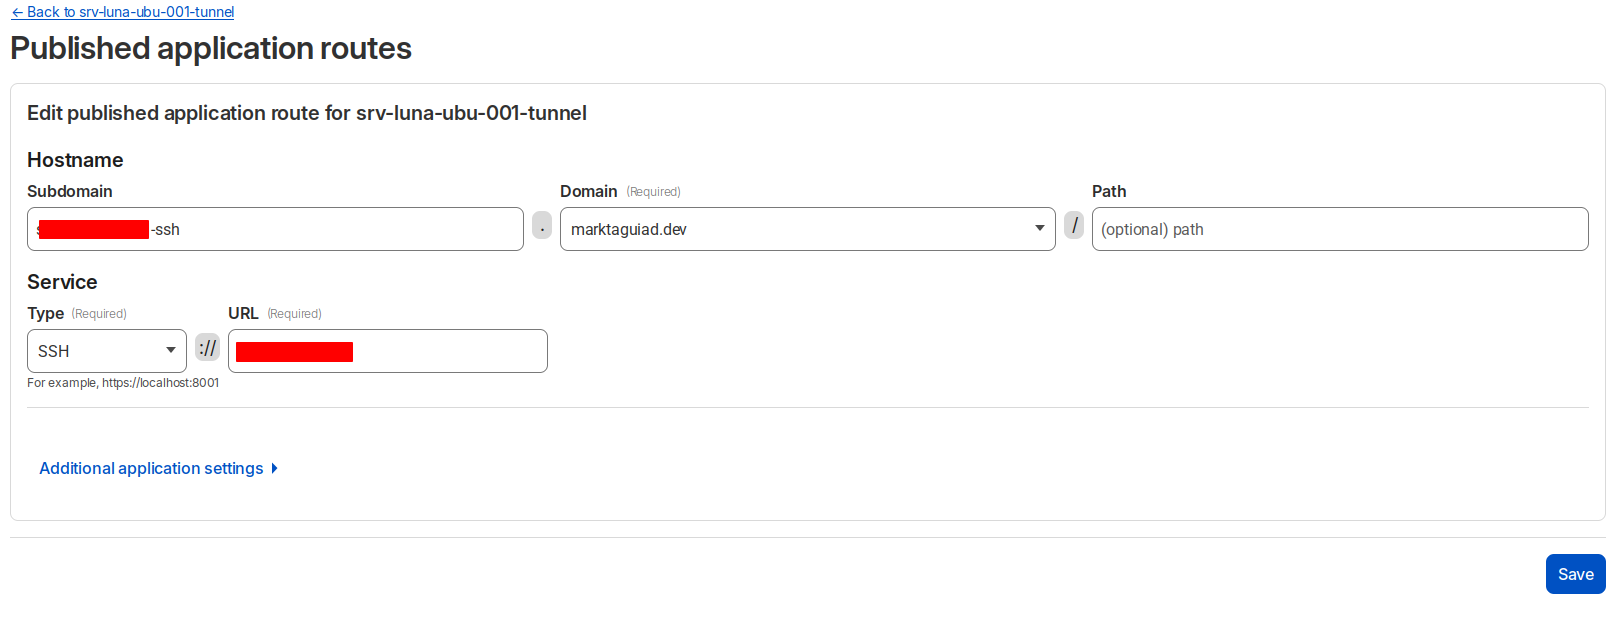
SSH Proxy Route
Just like in the previous configuration, in here just put type to SSH. But first you need to install cloudflared on your PC or terminal. Check this link for available installation method. Onced installed, run the login command cloudflared login. This will automatically redirect you to your cloudflared dash to authenticate.
Configure your ssh config.
.ssh/config
1Host yourserver-ssh.yourdomain.com
2  ProxyCommand cloudflared access ssh --hostname %h
3  User yourUser
4  IdentityFile ~/.ssh/id_rsa
5  ServerAliveInterval 240
Now you can ssh to your server using Cloudflare tunnel.
ssh root@yourserver-ssh.yourdomain.com
Optional: If you haven’t created or generated your ssh keys and config
1ssh-keygen -t rsa -b 4096
2touch ~/.ssh/config
To copy your public key to your server.
ssh-copy-id UserName@yourserverIPorDNS