OTP Capture Portal

In deploying capture portal solution to client, I usually use OpenNDS and OpenWrt, or simply TP-Link Omada Controller. Due to hardware limitation, we will be using nodogsplash on OpenWrt connected to a external server that will handle the authentication. Instead of common voucher generation, it will be generated using OTP. Thanks to user2684 solution.
Repo for this blog - link.
Table of Contents
What’s new?
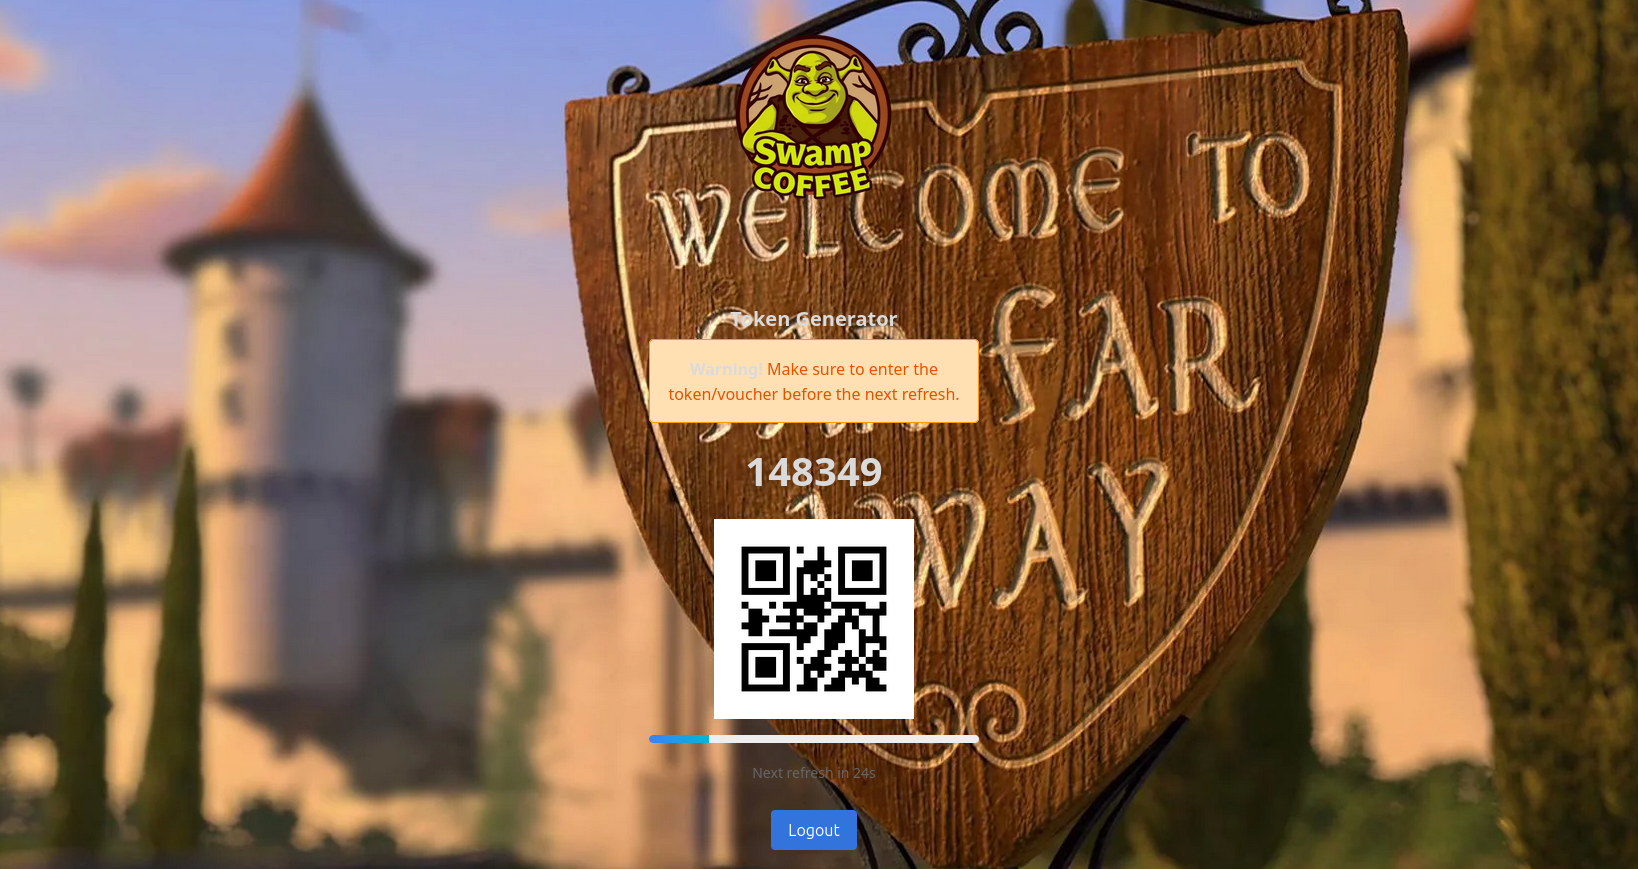
Not too much was added, I strictly set the deployment to Docker. Added an admin page that shows newly generated OTP - code and QR for easy input. I also added background and logo which can be dynamically change (docker mount) - this will be helpful for deployment for multiple client.
How it works
Upon connecting to the guest WLAN, nodogsplash flags the client as requiring authentication and redirects it to the captive portal, which prompts for a one-time access code.
The OTP is generated via Google Authenticator and validated against the server using the google-authenticator service and an custom PAM module.
After successful OTP verification, the portal signals nodogsplash to authorize the client, and network access is granted.
Installation
OpenWrt/Nodogsplas
I assume that you have already installed OpenWrt on your router.
Refresh package list on OpenWrt.
1opkg update
Install nodogsplash
1opkg install nodogsplash
Configure nodogsplash config. I’ll be deploying this in a public cloud so the port is 443 and it’s in https, if server is in your local network then change to http and 8000 (depending on you port-forwarding config). Look for line below and edit: etc/config/nodogsplash
1list preauthenticated_users 'allow tcp port 443 to <Server_IP>
/etc/nodogsplash/htdocs/splash.html
1<meta http-equiv="refresh" content="0;URL='https://<Server_IP>:443/index.html?authaction=$authaction&tok=$tok&redir=$redir&mac=$clientmac&ip=$clientip&gatewayname=$gatewayname'" />
Enable and start nodogsplash service.
1/etc/init.d/nodogsplash enable
2/etc/init.d/nodogsplash start
Google Authenticator
Installed package if not yet installed.
1apt install libpam-google-authenticator
Generate your google authenticator config. Download authenticator app like this, scan the QR generated to link it to the app.
1google-authenticator -t
Docker
Create a directory for the config and images. Google authenticor config is located in /home/yourusername/.google_authenticator. Mount it in docker compose.
1mkdir data
2tree -a data
3.
4├── background.jpeg
5├── favicon.ico
6├── .google_authenticator
7└── logo.webp
compose.yaml
 1services:
 2    otp-capture-portal:
 3        container_name: otp-capture-portal
 4        image: ghcr.io/mcbtaguiad/otp-capture-portal:main
 5        build:
 6            context: .
 7            dockerfile: Dockerfile
 8        ports:
 9            - "8000:8000"
10        environment:
11            - BUSINESS_NAME=Swamp Coffee
12            - ADMIN_USERNAME=admin
13            - ADMIN_PASSWORD=password123
14        volumes:
15            - ./data:/otpspot/data
Deploy
1docker compose up -d
Demo
Visit this link. Add /admin to view admin page, use admin and password123 to login. If successfully logged in it will automatically redirect to OTP generator page. This is already in the public domain, you can use this as your capture portal. I’ll live it to you to find my public IP and if you are fine with Shrek looking at you everytime you login hahahaha.